|
|
 |
|
|
 |
|
|
|
|
| Fitting Guide |
|
|
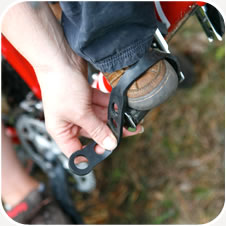
| 1. |
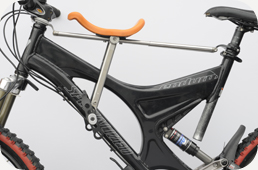
Select correct size rubber shim to suit your seat post and install rear bracket. Be mindful to protect bike frame when mounting. Position bracket on the seat post with your saddle set to your lowest position as suited for down hill use. Tighten bracket together around rubber shim on the seat post. Fit front tubes into rear tube set. |
|
|
|
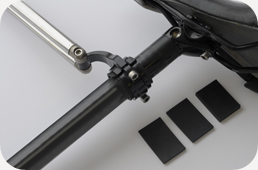
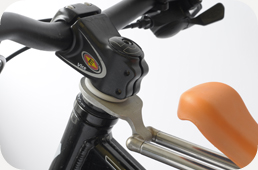
| 2. |
Remove handlebar stem from head set as per manufacturers instructions. Remove 10mm spacers from head set. Install the LOCT front mount bearing. |
|
|
|
 |
 |
|
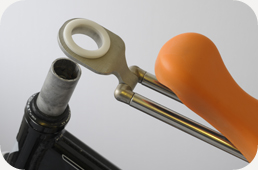
| 3. |
Replace handlebar stem and tighten centre bolt as per manufacturer's settings then tighten stem clamp bolts whilst centering the steering. Check steering is free to move, front bearing mount is secure in headset and all bolts are tight. Always mount front mount this way up displayed to avoid seriously hindering the steering. |
|
|
|
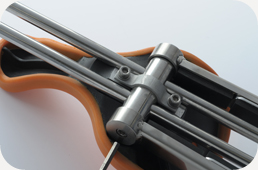
| 4. |
Loosen the centre bolt out along with the Stirrup Boss until this is able to rotate from its transit position. Rotate the stirrup legs 90 degrees and re-tighten bolt. Slacken these centre boss bolts to adjust the angle of the stirrups and the position of saddle on the twin bars. |
|
|
|
| 5. |
Set the length of the stirrup legs by removing the securing bolt and selecting the relevant bolt hole to suit, refit and tighten. The telescopic tubes have maximum extend markings which are not to be exceeded when in use. Follow the instructions carefully to set up and enjoy the full benefits of this product. |
|
|
|
|
|
|
 |
|